Stakes & Connectors: Elevate Your Garden Game
Discover the Right Staking Method for You
Every garden has unique needs, and with FormBoss® Metal Garden Edging Systems, you’re spoilt for choice. Remember, the stake should ideally be more than double the profile height. Below, you will find the most common options for garden stake available in the market.
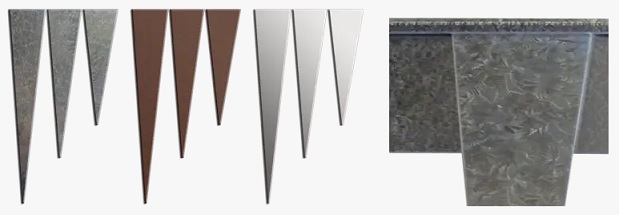
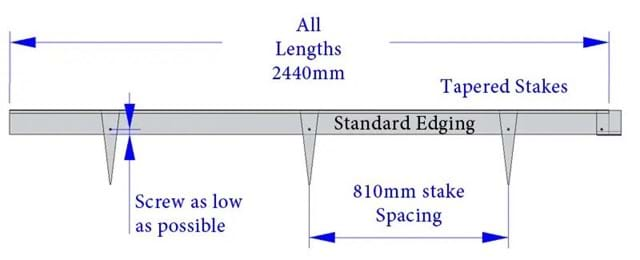
Tapered Stakes (Triangle Stakes)
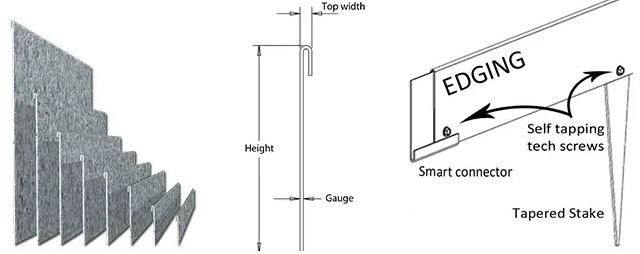
Perfect for edging profiles up to 185mm high, these stakes anchor and strengthen your garden edges. For optimal results, use three stakes for every 2.44m length of corten steel (one in the center and one at each end about 400mm from your connection). And guess what? They’re sold individually!
Availability: 2400mm, 300mm & 400mm Heights
[Galvanised 2.5mm gauge, REDCOR® steel 2.5mm gauge, ZAM® 2.5mm gauge & stainless by special request.]
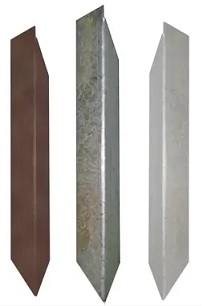
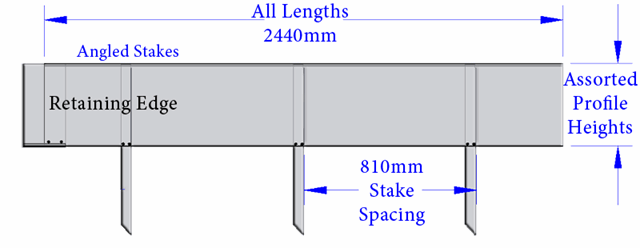
Angled Stakes (Retaining Stakes)
Need something for higher-strength jobs or retaining applications? Angled stakes are your best bet. Space them every 813mm (3 per length) or 610mm (4 per length), depending on the job’s intensity. You insert the top edge of the stake under the lip of the edging the same as you would with the tapered stakes.
Just like their tapered counterparts, these angled stakes are available individually.
Always use a rubber mallet to drive these stakes into the ground. Using a metal hammer can bend the stake’s top edge, preventing it from fitting under the edging’s lip.
For longer stakes, like the 1200mm ones, you might need to pre-dig the spot where the stake will go. A motorized post hole digger works wonders for these longer stakes. For maximum strength in your retaining wall, consider filling the hole with concrete.
Choosing the Right Stake Length
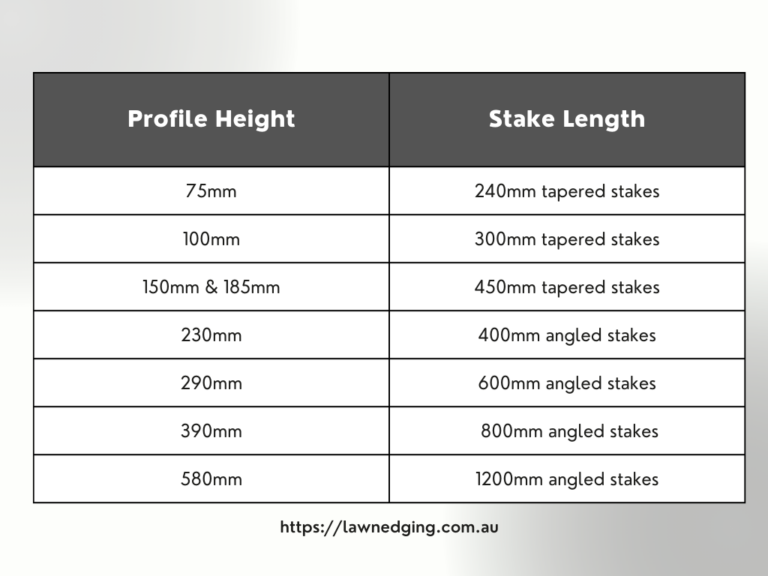
When constructing your garden or outdoor space, selecting the correct stake length for your edging is crucial for stability and longevity. Here’s a straightforward guide to help you make the right choice:
FormBoss® Smart Connectors
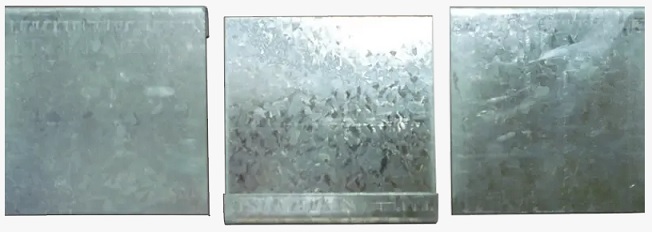
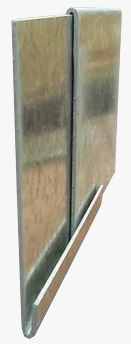
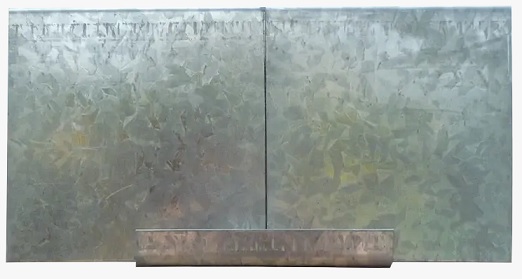
The FormBoss® connector is a compact segment of the same FormBoss® profile, designed to seamlessly join your edging lengths, ensuring smooth, continuous lines. With FormBoss®, achieve perfect, continuous lines with all connectors, stakes, and fixtures concealed beneath the soil, ensuring a neat appearance.
Connecting Tips
- Ensure any cuts made are precisely at a 90-degree angle for the neatest connection.
- Align both lengths snugly inside the smart connector. Use a clamp to hold them in place, preventing any movement.
- A wide-brimmed vice clamp is recommended as it firmly holds both lengths flush within the connector.
- Secure the connection by inserting two self-tapping screws on each side. For profiles exceeding 150mm in height, use two screws on each side to prevent the lengths from separating.
DIY Connectors
- If you have leftover edging pieces, you can repurpose them into connectors by cutting them into smaller segments.
- After cutting, it’s essential to smooth out any sharp edges and apply cold gal spray paint to the exposed cuts, especially for galvanised edging, to ensure durability and safety.
Safety Note: Always file down sharp edges and apply cold gal spray paint to any exposed metals on our galvanised edging for enhanced longevity and safety.
Bonus: Every order comes with FREE connectors and screws. We’ll determine the quantity you need upon ordering!
Navigating Sloping Blocks
Uneven land can be a challenge, but not with FormBoss®. To manage slopes:
Step 1: Lay two edging pieces on the hill, overlapping at one end.
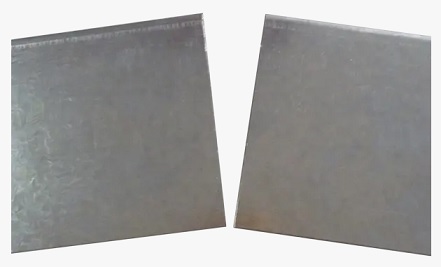
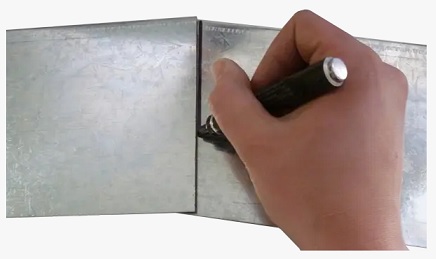
Step 2: Mark the overlap, cut along the line, and join with a smart connector.
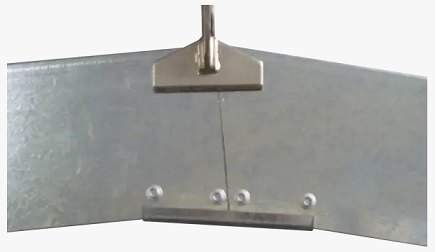
Step 3: Install as usual, ensuring screws are below the soil level.
Pro Tips for Enhanced Edging
For a nuanced shift in angles, consider repeating the process multiple times. Add an angle to your edges for a sleek, tapered look. This technique especially shines with larger edging sizes! Alternatively, press one end of the edging directly into the soil for a gradual fade-out effect.
Connect Different Profiles for a Dramatic Effect
Follow these steps for a bold, elegant tapered edge:
Step 1: Choose two different profile heights.
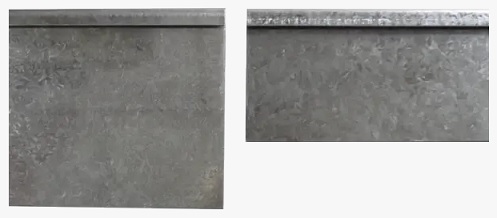
Step 2: Connect the larger connector to the larger edge.
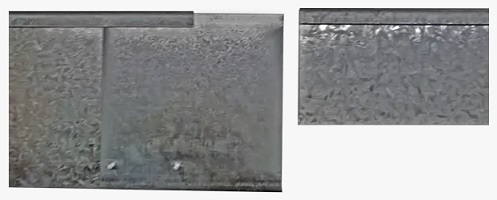
Step 3: Attach the shorter profile as usual.
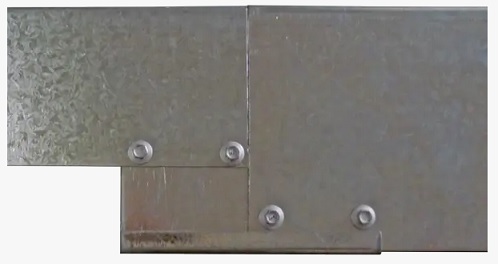
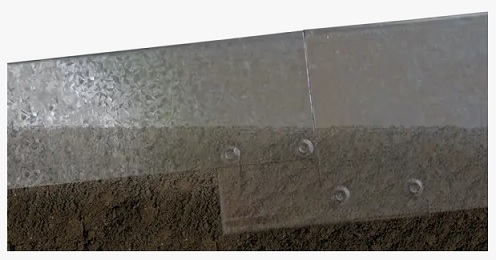
Step 4: Position in the ground at an angle, ensuring screws are beneath the soil.
More DIY Guides
From intricate landscape edging projects to simple garden hacks, delve deeper into a world of hands-on creativity. Each guide is packed with expert advice, ensuring that your next DIY endeavor not only meets but exceeds expectations.
Profile Heights
Understanding profile heights is crucial for achieving the desired look and functionality in garden edging.
DIY Garden Edging Guide
Whether you’re a seasoned landscaper or a DIY enthusiast, our comprehensive guides cover every facet of garden edging.
Garden Edging Tools
The right tools can make all the difference in garden edging. Dive into our curated list of essential tools, each designed to simplify and enhance the installation process.

